Installation Of Integration Module
Below you can find instructions for installation of the integration module on the reseller’s WHMCS.
Please refer to section Integrations to learn how to generate an integration module for your resellers.
An exemplary flow of installation and configuration of the integration module to resell TLDs on Blesta, can be found in Blesta official documentation.
1. Upload and extract the registrar module into your WHMCS.
Once you have extracted the module, you should find a new folder with the registrar in ‘resellerWHMCS/modules/registrars/’ directory.
Important: The folder and module name, logo and description of the extracted integration module is customized by the provider and will be different than the one presented in the example below.
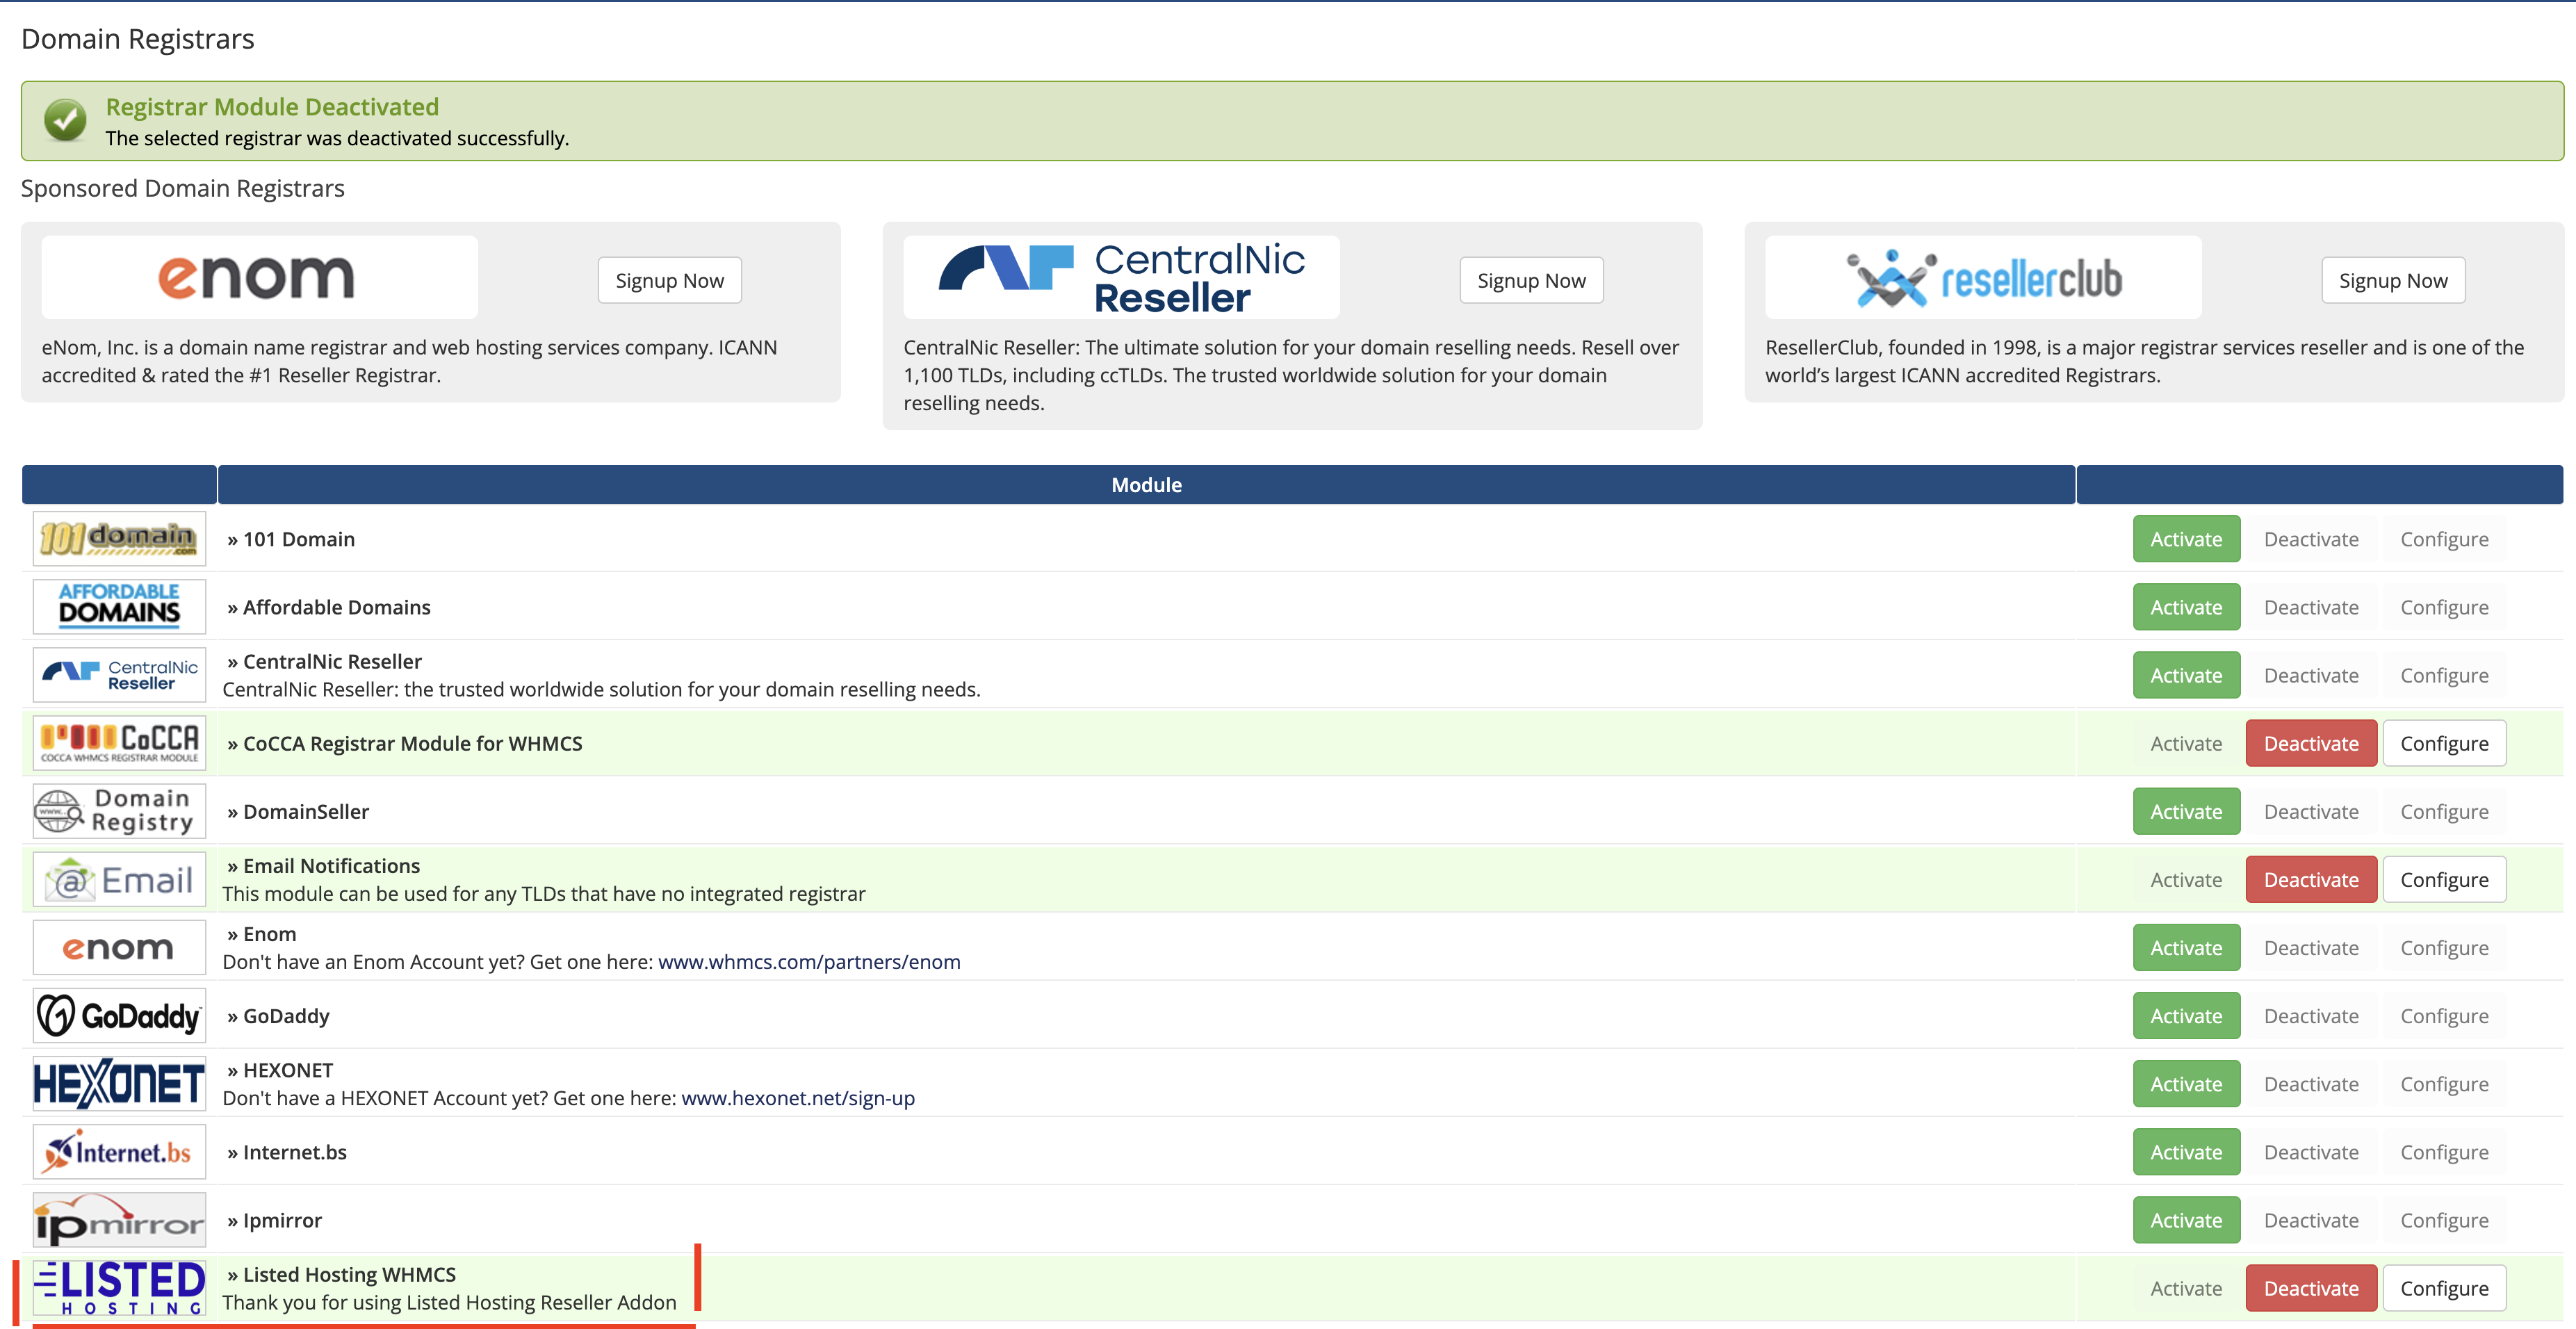
2. Go to ‘System Settings’ → ‘Domains Registrars’ , find the module you have just uploaded and press ‘Activate’ next to it.
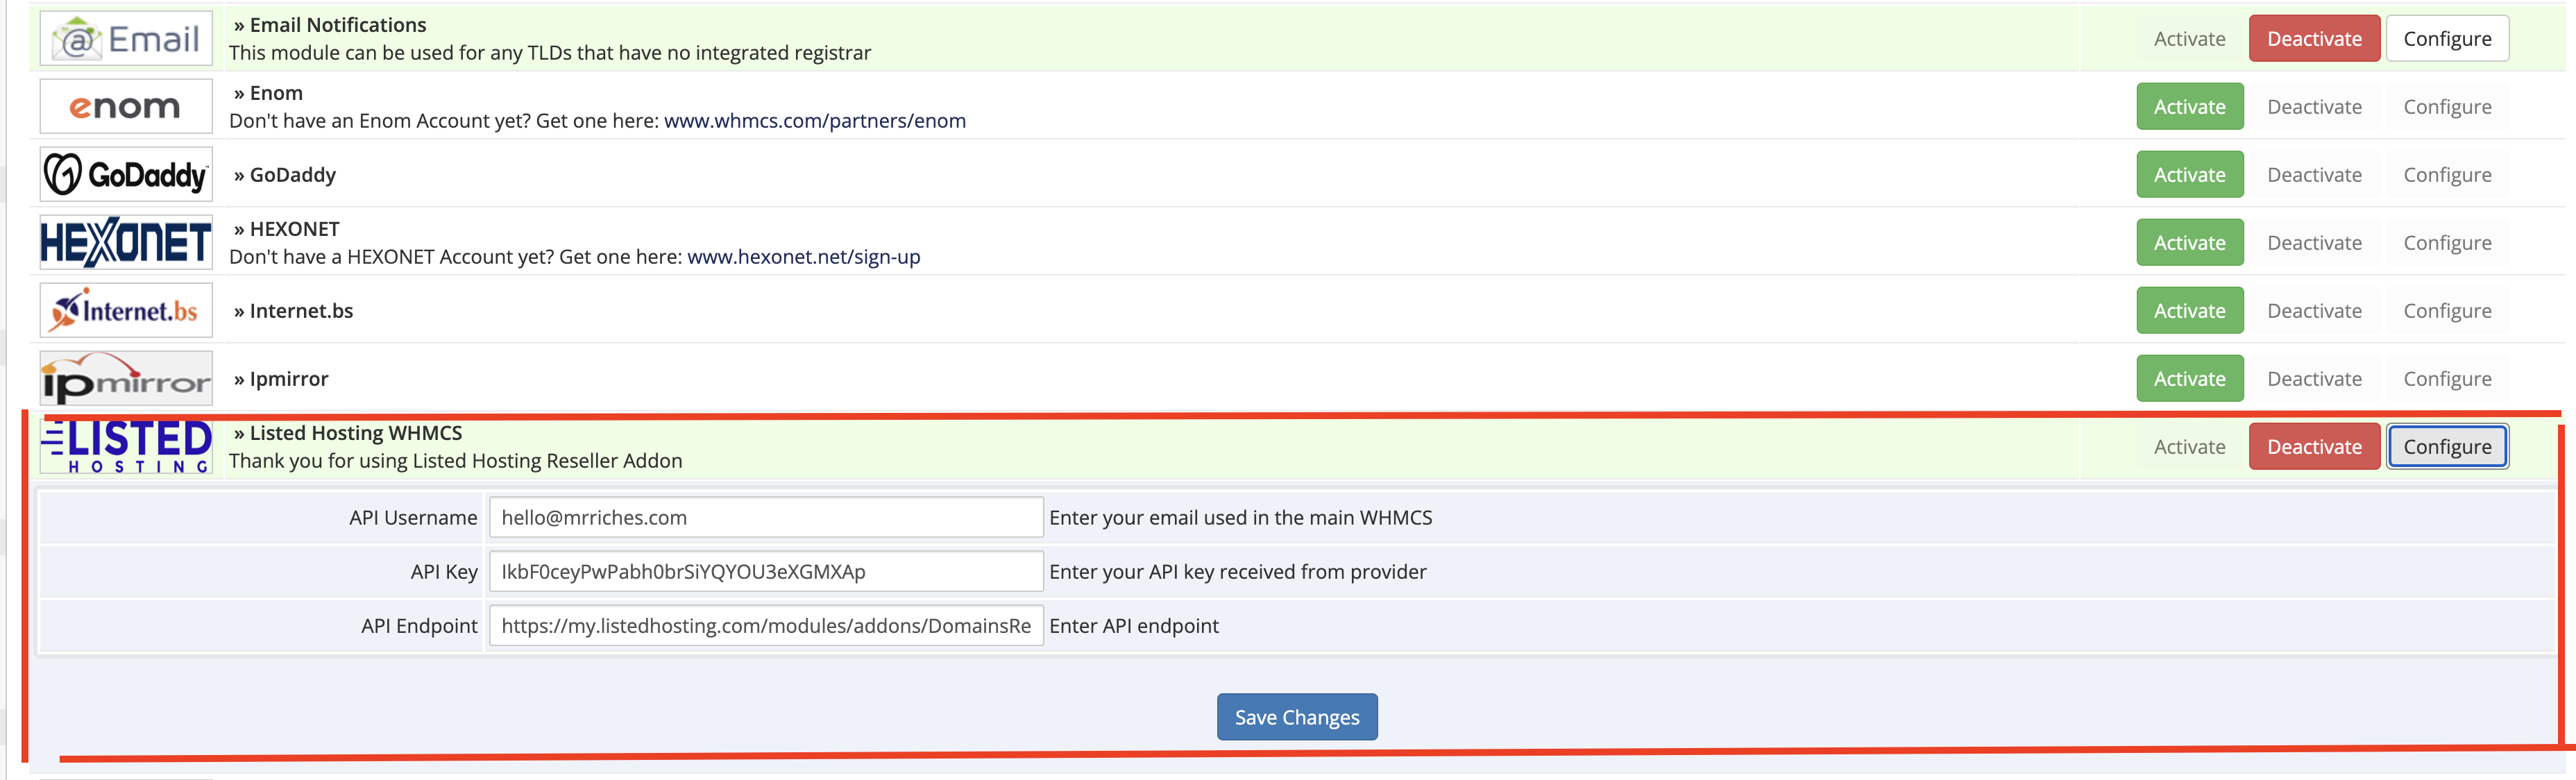
3. Now, press ‘Configure’ button, enter ‘User Email’ and ‘API Key’ provided along with the module.
You can find these data in your Reseller Area in the Provider’s Client Area. Afterwards, press ‘Save Changes’.
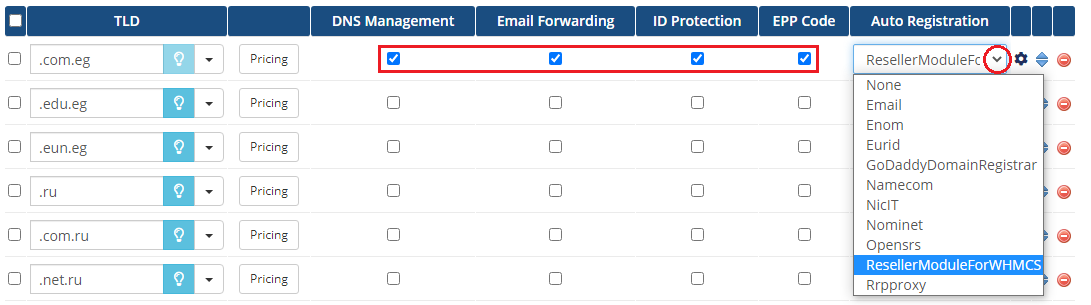
4. To continue, go to ‘System Settings’ → ‘Domains Pricing’.
Set up TLD your provider allows you to resell, select additional features, choose registrar you have just installed from a dropdown menu and save it through pressing ‘Save Changes’.
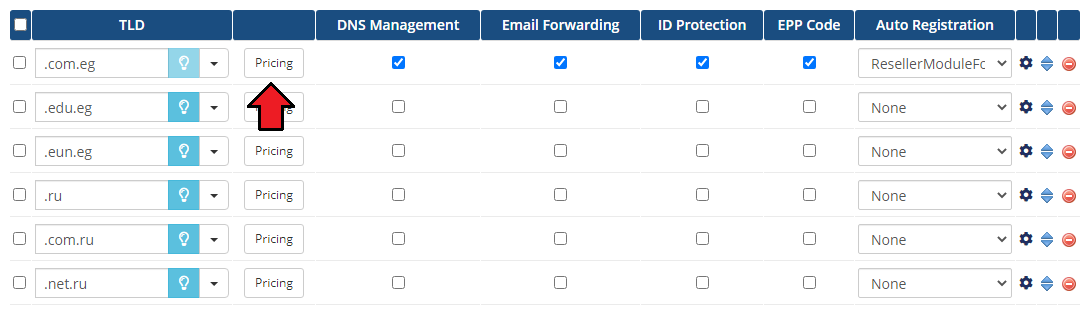
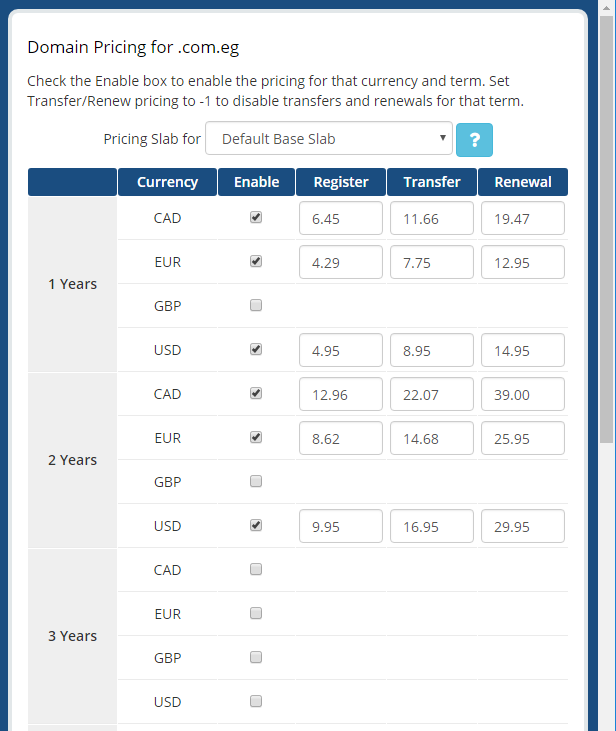
5. Afterwards, set pricing for your TLD. To do so, press ‘Open Pricing’ text.
It will open in a new window, so make sure your browser does not block it.
6. Next, enter prices for specific actions. Press ‘Save Changes’ to confirm.
8. Congratulations, you have just successfully installed your registrar!